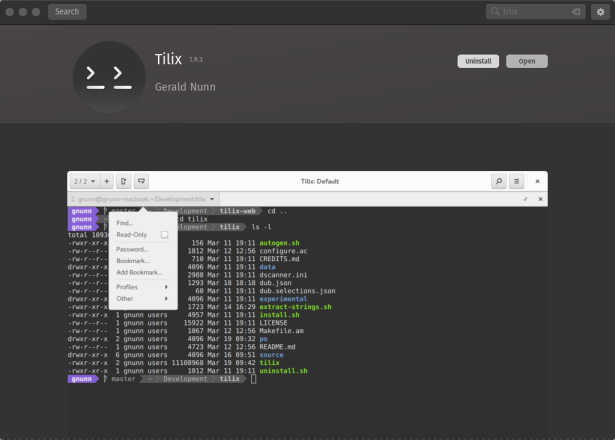
Set default terminal
Tilix
Tilix

Download Tilix

# sudo apt-get install tilix

or install from the Pop! Shop

Download Tilix from Pop! Shop

After install, open Tilix to check the terminal application installed fine and works. If installing from the Gnome Terminal, use the following command to launch:

# tilix

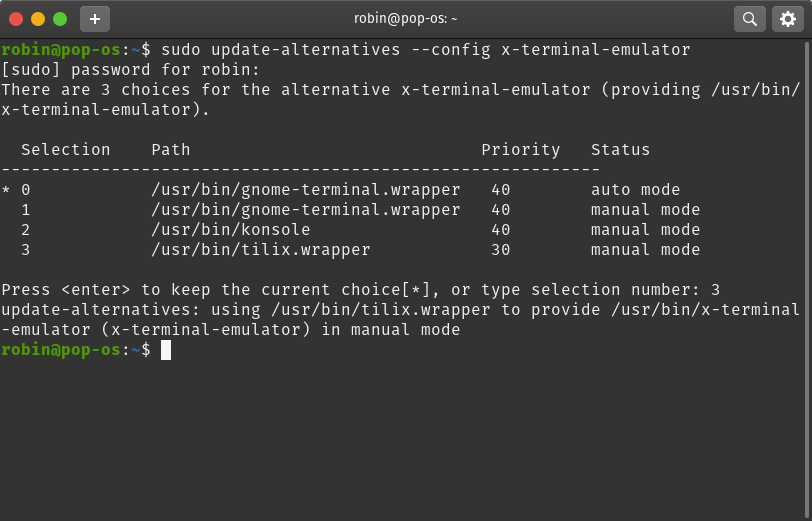
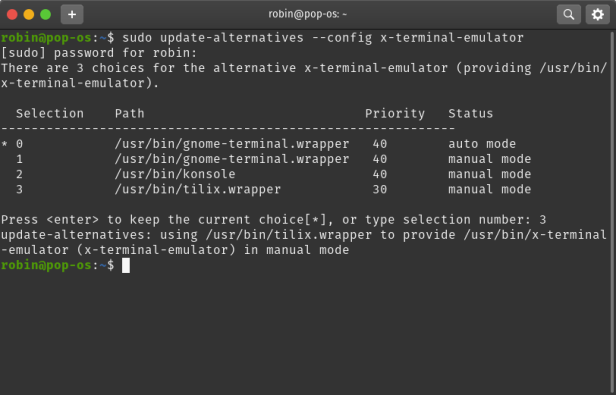
Swapping Gnome Terminal for Tilix

In a terminal, run the following command:

# sudo update-alternatives --config x-terminal-emulator

From the selection presented, select the option which lists tilix.wrapper

In the selection shown below, this is option 3.

Set default terminal
Setting the default terminal

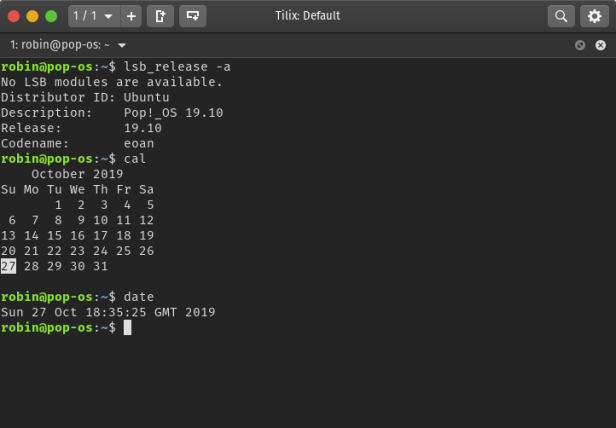
To test you have successfully changed the default to Tilix, open a terminal by pressing CTRL +Alt + T, or Super + T.

2 responses to “How to set Tilix as your default terminal in Pop!_OS and Ubuntu”

  1. YinanLiu Avatar
    YinanLiu

    One dash before “config” is missing in the command.
    # sudo update-alternatives -–config x-terminal-emulator

    This works for me, thanks!

    Like

    1. Robin Juste Emery Avatar

      Hi YinanLiu,

      In checking my post, there is a double dash already, but the theme I am using has converted this to a single dash.
      I have updated the post and changed to inline code, so this displays better and formats for copying into a terminal.

      Thank you!

      Like

Leave a comment

This site uses Akismet to reduce spam. Learn how your comment data is processed.

Quote of the week

"People ask me what I do in the winter when there's no baseball. I'll tell you what I do. I stare out the window and wait for spring."

~ Rogers Hornsby

Designed with WordPress